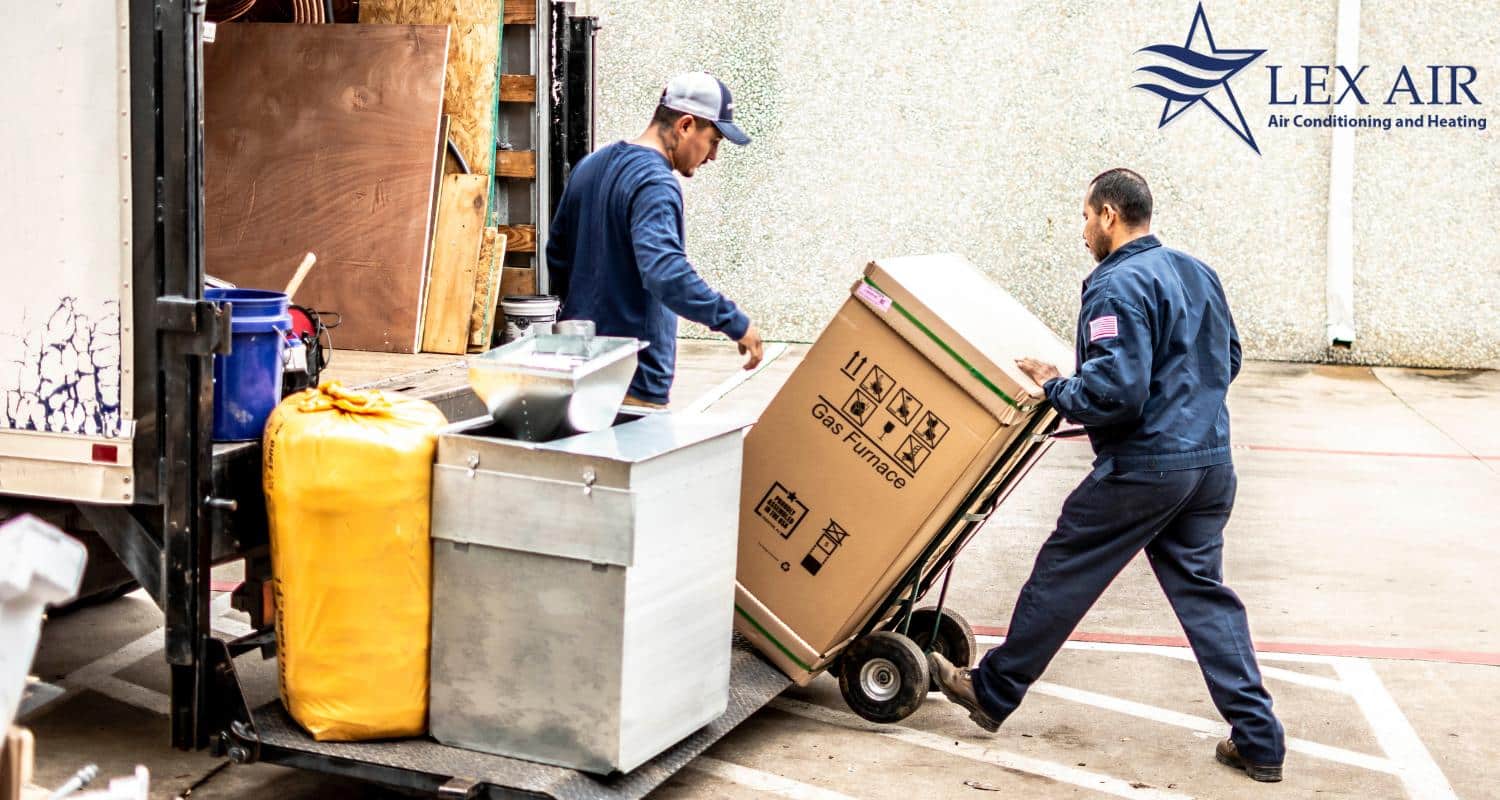
Whether you’ve just moved into a new home or it’s simply time for a replacement, installing a new HVAC system is a much more complex process than many homeowners realize. Your air conditioning system contains an intricate variety of ducts, fluids, motors, and other components that require skill and experience to replace and install. This is where the Carrollton HVAC installation technicians at Lex Air Conditioning & Heating come in.
So what exactly should you expect when you need a brand new air conditioning system? How should you prepare? What will happen on installation day and beyond? Read on for answers to these important questions, as well as general information about your HVAC system and how a new system might benefit your family. If you have any questions about the products and services we provide at Lex Air, give us a call today at 972-217-8955.
Before Installation
So, you’ve chosen a heating and air conditioning company to replace your heating and cooling system. You’re off to a good start. Now it’s time to prepare for installation.
This isn’t just a matter of your installation team showing up the day of the installation and performing the replacement–there are a few other steps to get through first.
Inspection and Evaluation of Installation Site
Before your installation takes place, a licensed professional from Lex Air will come and take a look at your existing HVAC system. They will perform a thorough site evaluation and determine any job details that might have been missed during initial HVAC consultations. If the team needs any special tools to get the job done, they’re able to bring them along the day of installation. For instance, if you have an outdoor unit, the installation team may have to deal with things like nearby trees or other obstructions when removing your old unit. If they’re aware beforehand, they can be sure to bring the proper materials to get your new system installed.
Having this information beforehand helps the process move along smoothly and promptly on the installation date.
Preparing The Installation Site as the Homeowner
There are a few things that you as the homeowner can do to prepare the way for your installation team and your new air conditioner.
First, if you have children or animals, make sure they are secured away from the job site. If there are valuable items near the site, move them to a more secure location. Your Highland Park HVAC technicians don’t want to make you feel awkward or uncomfortable moving these things themselves.
Installation Day
The day of installation, your AC and/or heating installation team should introduce themselves to you when they arrive. This may seem like an unimportant step, but communication is essential during the installation process, and it’s more comfortable for everyone if a rapport is established.
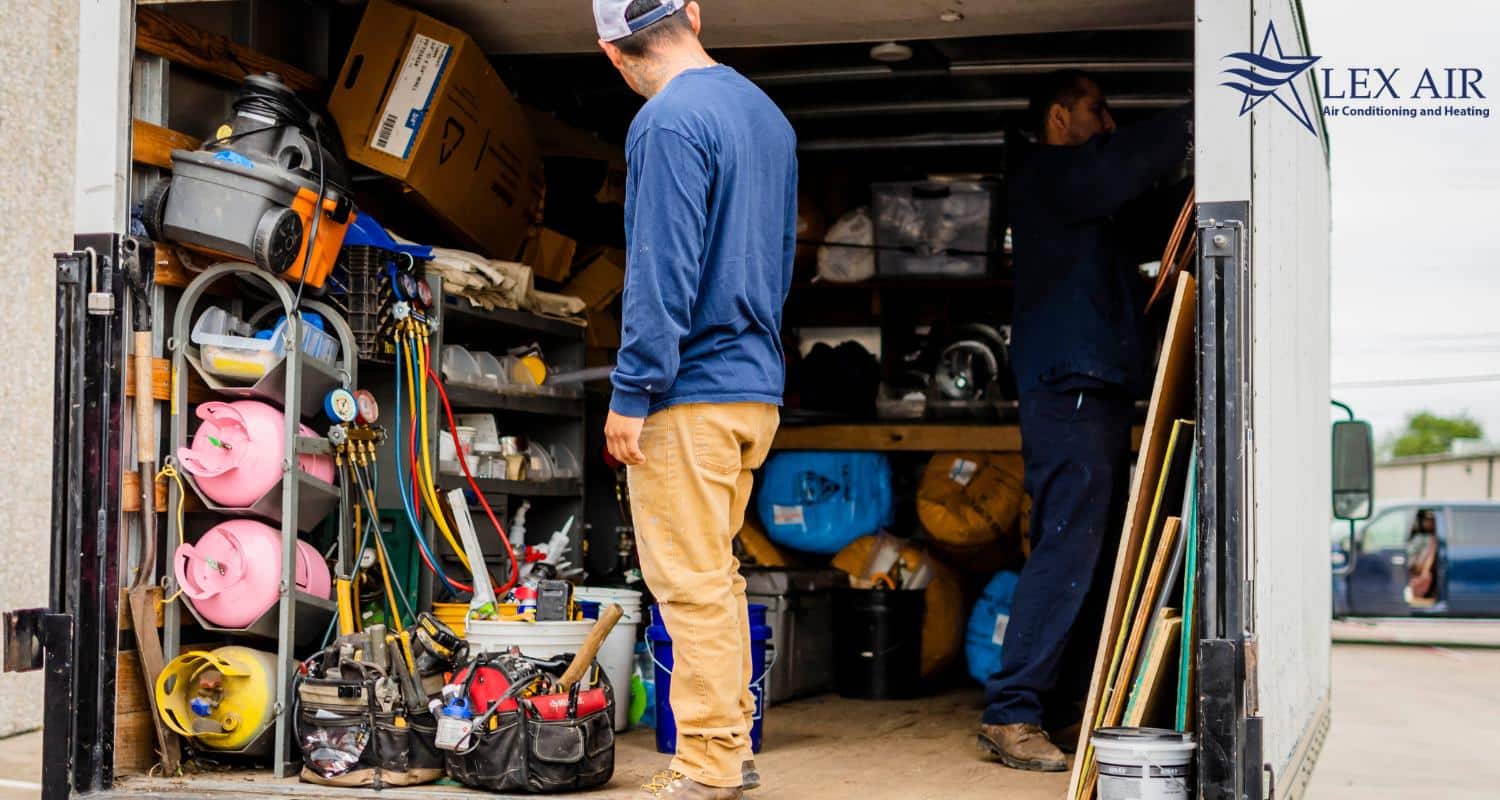
Then, they should begin laying drop cloths around your home to protect your floors and other valuables. In addition to laying down drop cloths, the team will also take this time to get tools and equipment in place to save time during the install.
Then, while you go over installation procedures with the lead installer, a team of Southlake HVAC professionals will enact safety procedures that include turning off electric supply and gas service valves for your existing HVAC system.
The Installation Process
The HVAC installation process, if your team is prepared, should only take one day to complete. Here, we’ll break down the steps your Little Elm AC technicians will take on installation day.
Removing Your Existing AC System
Your existing air conditioner contains a refrigerant that must be safely recovered before the old unit can be removed. The EPA requires that every single individual who handles refrigerant, or any device containing refrigerant, must have a certification to do so. This means that every technician on your team who handles the refrigerant will have this certification.
According to the EPA, you can’t just dump this refrigerant into the atmosphere; therefore, a recovery machine must be used. This is the only way to safely vent refrigerant.
Once your refrigerant has been recovered and its removal is complete, your team needs to remove all the old electrical wiring. First, the circuit breaker in your electrical panel should be turned off. Near your old unit, there will be a disconnect box, or service disconnect, that can shut off your AC in case of emergencies. Once the circuit breaker is off, your Corinth HVAC installation technicians can begin removing old wiring from the disconnect box.
If you have very old equipment and there is no disconnect box, one will have to be installed. This new box must be to your HVAC manufacturer’s specifications.
Once all existing connections are removed, your old air conditioning unit is ready to be removed.
Preparing the Area for the New HVAC System
Usually, the location of your old system requires a little bit of preparation before your new air conditioner can be installed. Your new equipment is likely much larger than your old; trees and other obstructions might have to be cut away.
Additionally, the ground might have sunk beneath your old AC. The ground will have to be leveled and a pad will need to be set before your new unit can be placed there. It’s important to get this right before installing the unit, as once it is in place, moving the unit can damage the entire system. Many components within your unit are delicate and pressurized; once it’s in, it’s very difficult to get beneath it and re-level the ground.
Removing Old Equipment
Aside from your AC unit itself, there are a few other things that need to be removed.
Removing The Indoor Evaporator Coil
The evaporator coil is the other half of your HVAC system, what the other end of your refrigerant lines are connected to. It usually sits above the furnace, but might also be below the furnace. There is a sheet metal plenum that must be removed as well before the coil can be removed; this can get tricky when access to the indoor coil is restricted.
Restrictions may include closets or finished basements that house the coil. Additional costs may accrue depending on how difficult it is to remove the coil; this is something your lead installer will keep you aware of during the process.
Removing the Copper Line Set
Next, your refrigerant lines must be replaced. This is a set of two copper lines that carry refrigerant, as well as oil, from your outdoor unit back inside to the evaporator coil. These lines may be beneath the floor, in concrete, buried underground, or covered by a ceiling.
The oil in these lines used for older units cannot be mixed with the oil used for newer ones without damaging the whole system. Therefore, it is always recommended to replace the line set where at all possible. Unfortunately, it just isn’t always possible. If the line set cannot be replaced, your Keller HVAC technicians will have a choice of whether to lay down a new line set for your new equipment or flush and clean out the old set. If they choose to use the old set, once the flushing and cleaning process is complete, a pressure test will have to be done.
Installing New Equipment
Now we get to the fun part of the installation process–getting your new equipment in.
New Indoor Evaporator Coil
You’ve got two options for your new evaporator coil–cased or uncased.
A cased evaporator coil simply sits on top of your furnace. It allows for easy installation, heating maintenance, and repair. By contrast, an uncased evaporator coil has a longer and more difficult preparation and installation process.
So long as both of them are installed to manufacturer’s specifications, there is no difference in the life expectancy, or the comfort you will experience, for either coil.
New Copper Line Set
Your new refrigerant line set, if it is being replaced, will consist of two copper lines: the larger is called the suction line, while the smaller is the liquid line. They need to be installed with as few bends or turns as possible between the air conditioner and the coil, and they also need to be secured every 4 to 6 feet.
Your team will also install a filter drier to prevent water or moisture from entering your refrigeration system. They will perform vacuum tests on this system to ensure its working properly.
Setting the New Air Conditioning Unit
This is where your Richardson, TX air conditioning technicians will uncrate your new unit and check for any damages. Once that’s done, the new system will be placed on its leveled pad and the refrigerant lines will be fitted and brazed to the appropriate service valve.
If this is all done properly, the line set and the valves will all be welded together for a seamless, leak-free connection.
Installing Electrical Upgrades
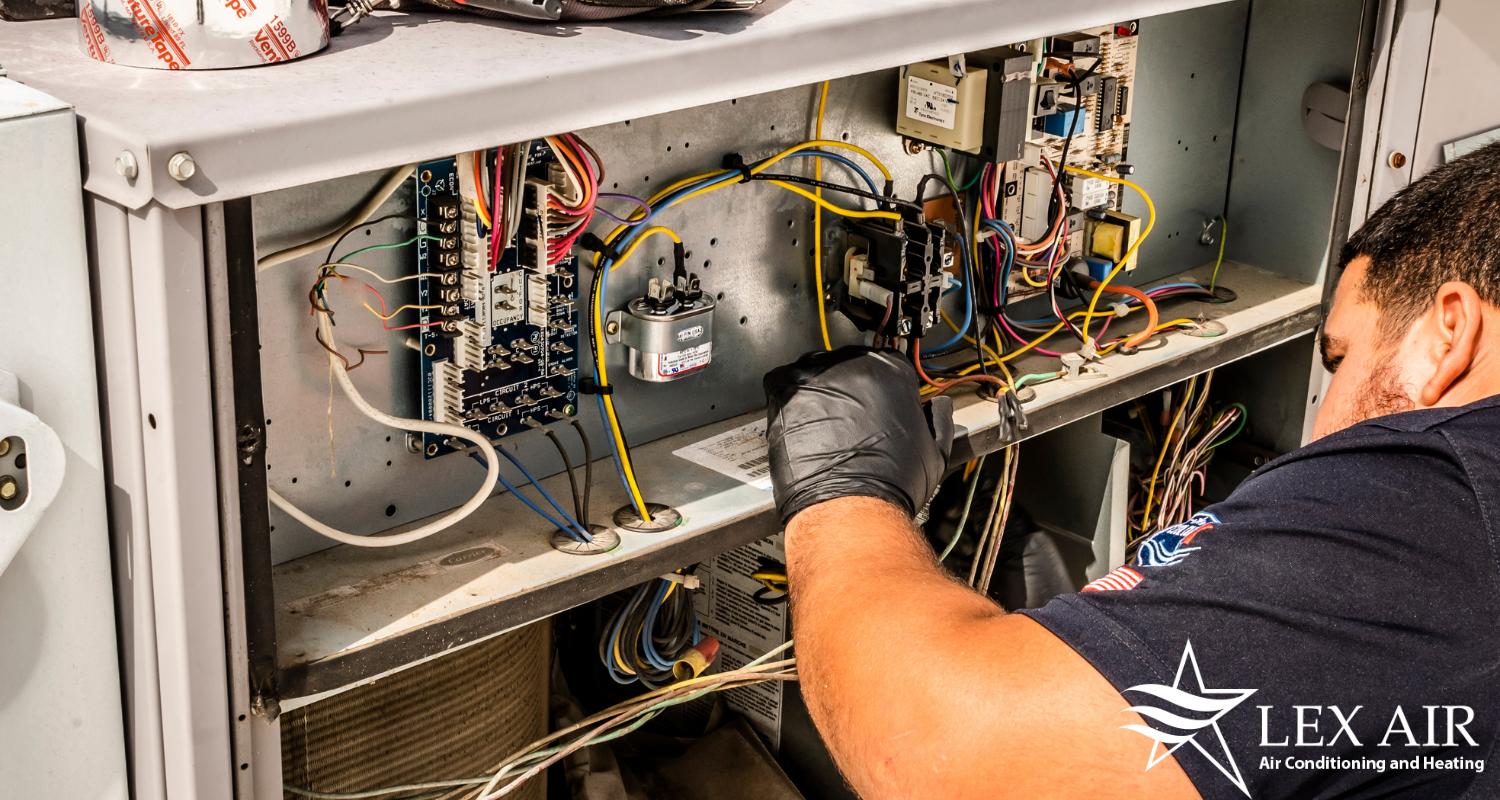
This is where your team will install your new service disconnect box and new wiring components and connections.
New Condensate Drain Line
During the cooling process, any condensation that gathers is carried down a condensate drain line to a floor drain or condensate pump. This is to protect your home from any moisture or leaks in the floors or walls from your new air conditioning system. This line must be properly secured with concrete.
Startup Commissioning Process
This is where your team will turn on your system and let it get to work.
When you first start up your new HVAC system, your house should be very warm to let your unit reach full cooling potential. These are called “cooling loads”. Sometimes you may even need to run the furnace before turning on your air conditioning unit for the first time.
A heating and air conditioning technician should also test your thermostat to ensure proper operation.
After Installation
Once installation is complete, the clean-up process is relatively simple–you can expect to find the area as it was before the installation.
A University Park HVAC technician from our team will walk you through what went on during the installation process, and give you a visual rundown of your new equipment. They will also go over thermostat operation with you and any safety or warranty information you might need to know regarding your new system.
Follow-Up Inspection
A few days after the install, a technician will come to your home and perform a follow-up inspection on your new HVAC system. They’ll check the location of the HVAC system, test the thermostat, ensure your airflow is good, and answer any questions you may have about the operation of your system.
Enjoy Your New System!
Once your installation is complete, it’s time to enjoy your new system and the many benefits that come along with it! This will include increased comfort in your home as well as reduced energy costs and improved efficiency.
It’s important to remember that your HVAC system requires regular maintenance. You can make maintenance a no-brainer with our Cool Club Maintenance Plan; we’ll let you know when it’s time for things like heating and air conditioning tune-ups and also provide a discount on maintenance and replacement parts.
For Seamless HVAC Installation Services, Call Lex Air Conditioning and Heating Today!
If you’re considering an HVAC system replacement, please feel free to contact our office with any and all questions you may have. Our skilled and experienced technicians at Lex Air Conditioning and Heating have provided many homeowners in the Carrollton area with advice, maintenance, repairs, and HVAC systems that do the job for years to come. Whatever your heating and cooling needs are, Lex Air can provide.
If you’re in Carrollton or the surrounding area and you need a new HVAC system, or if you’re wondering whether or not your system needs replacing, give Lex Air a call at 972-217-8955 today!

