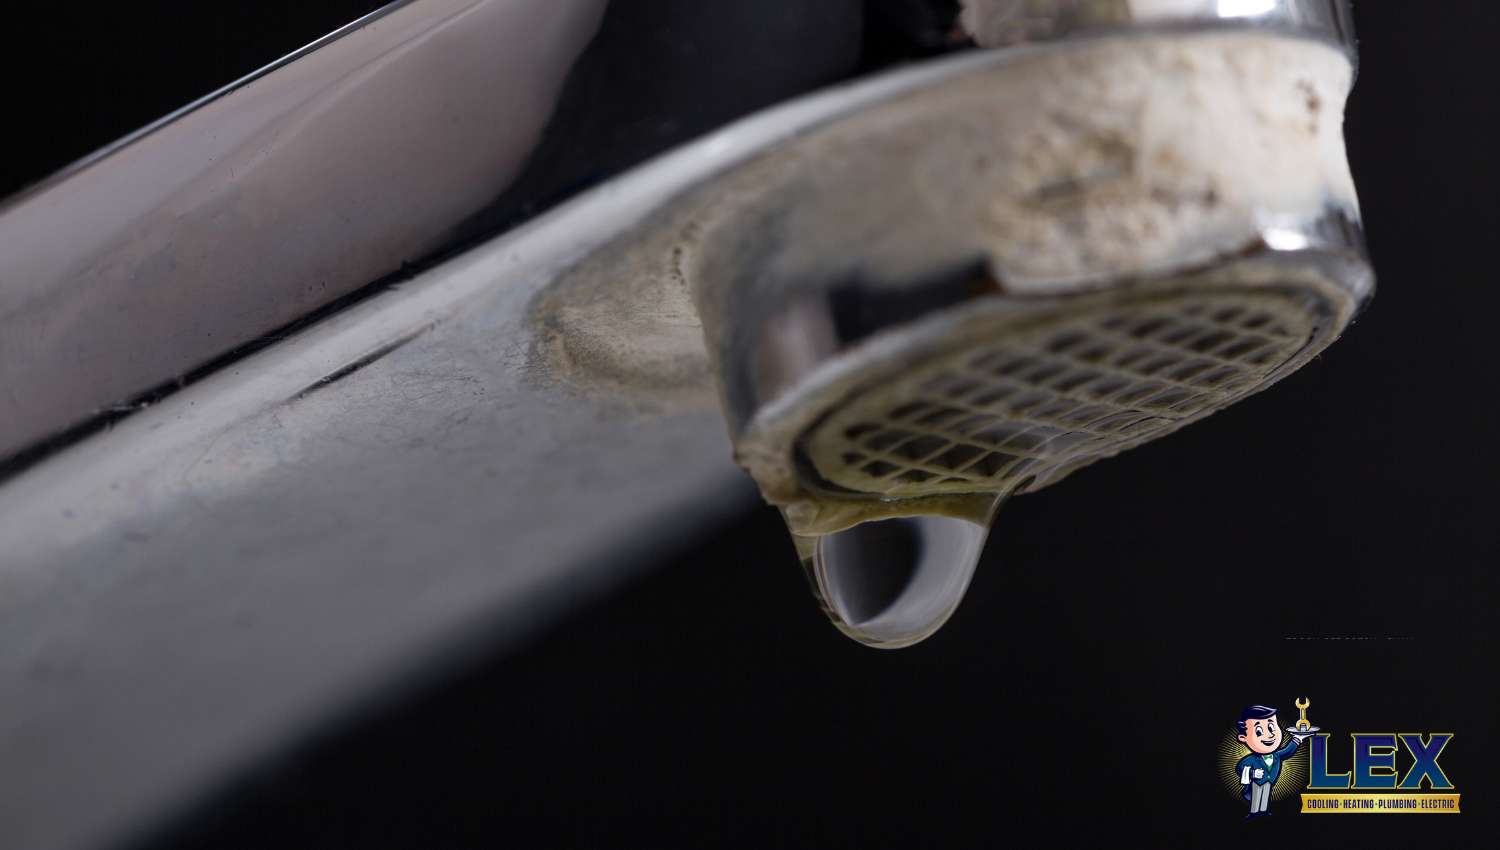
A leaking faucet is a small issue that quickly becomes a major frustration, with every drop reminding you that something needs attention. That drip, drip, drip can keep you awake at night, distract you during the day, and even drive up your water bill without you realizing it. What’s worse, just one drip can waste gallons of water over time, causing unnecessary expenses and even leading to water damage and more serious problems if ignored. If you’ve been dealing with plumbing fixtures that won’t stop dripping, it’s time to take action before the problem gets worse.
Fixing a leaky faucet doesn’t have to be complicated, and tackling the issue now can save you time, money, and stress in the long run. In this post, we’ll guide you step-by-step through how to fix a leaking faucet, offering helpful tips on what causes leaks, the tools you’ll need, and when it’s best to call in the professionals from Lex Plumbing. Whether it’s a leaky faucet repair or a more involved fix, we’re here to provide you with the confidence a knowledge you need to address the issue.
If you need immediate help or find the task overwhelming, the professionals at Lex Air are just a phone call away. Call (972) 217-8955 today for faucet repair and replacement in Carrollton, TX and the surrounding areas!

Why is My Faucet Dripping?
Over time, frequent use of faucets can lead to wear and tear on the internal parts, which is one of the most common reasons for a dripping faucet. Every time you turn your kitchen faucet or bathroom sink on and off, components like O-rings, washers, and seals are constantly in motion, resulting in them wearing out and causing leaks.
Factors like high water pressure or buildup inside the faucet can also contribute to the drip. Even if your faucet is relatively new, these small issues can create leaks that become bigger over time. Fortunately, most faucets are worth saving with some basic repairs, and identifying the issue early can prevent further damage.
Why is Water Leaking From the Base of My Faucet?
Sometimes, the leak isn’t from the faucet spout but rather from the base. This type of leak is commonly caused by loose parts or worn seals around the faucet handle. Checking for water at the base, particularly when you turn the water on, can help you identify this issue. The O-rings or seals under the handle may need to be replaced to fix this kind of leak.
Identifying the Source of the Leak
To identify the problem, you’ll first want to determine what type of faucet you have. Each type can experience different issues that may result in a leak.
- Compression Faucets: These faucets use two handles (one for hot water and one for cold). A common problem is worn-out washers or valve seats, causing the faucet to drip.
- Ball Faucets: Typically found in kitchens, these faucets have a single handle that moves over a ball mechanism. They’re more prone to leaking due to the multiple small parts involved.
- Cartridge Faucets: These faucets, which can have one or two handles, rely on a cartridge mechanism to control water flow. Over time, the cartridge can wear down, leading to a leaky cartridge faucet. As the cartridge deteriorates, the faucet may start dripping, a common issue with most cartridge faucets.
- Ceramic Disk Faucets: These are newer faucets with a single handle and are designed to be durable. However, even these can leak when the two disks inside the faucet wear out, causing water to seep through.
Once you’ve identified your faucet type, you can take the appropriate next steps to fix it.

Common Causes of Leaking or Dripping Faucet
According to an article by the United States Environmental Protection Agency, “a leaky faucet that drips at the rate of one drip per second can waste more than 3,000 gallons per year. That’s the amount of water needed to take more than 180 showers.“
Here are a few common culprits when it comes to a leaking faucet:
- Worn-Out Washers or Seals: Washers and seals, such as cam washers, inlet seals, and neoprene seals, are subjected to friction, which can wear them down over time.
- Corroded Valve Seats: The valve seat connects the faucet to the spout and can corrode, especially in compression faucets.
- Loose Parts: Screws, nuts, and other internal components can come loose and cause leaks.
- High Water Pressure: High water pressure can cause a faucet to leak, particularly if the faucet isn’t designed to handle the pressure.

Step-by-Step Guide to Fixing a Leaky Faucet
If you’re ready to tackle the problem yourself, here’s a step-by-step guide on how to fix a leaking faucet.
Step 1: Turn Off the Water Supply
Before starting any repair, the first step is to turn off the water supply. To do this, locate the water shut-off valve beneath your sink. It’s usually a small valve, and turning it clockwise will stop the water flow. This is an important step to avoid water spilling out when you begin disassembling the faucet.
Step 2: Disassemble the Faucet
Next, you’ll need to take the faucet apart. Start by removing the decorative cap or decorative cover on the faucet handle. Once the cap is off, use a screwdriver to remove the handle, revealing the internal components.
How To Remove Faucet Handle
Removing the handle varies by faucet type:
- Compression Faucet: Remove the decorative cap, then use an adjustable wrench to loosen the packing nut, allowing you to lift the handle. Then, inspect the seat washer under the valve stem, as this part commonly wears out.
- Ball Faucet: After removing the decorative cover, use the tool from a ball faucet repair kit to remove the retaining clip, then lift off the handle.
- Cartridge Faucet: Once the decorative cap is off, unscrew the handle or remove the retaining clip to lift the handle.
- Ceramic Disk Faucet: Remove the escutcheon cap and loosen the now exposed nut with needle nose pliers to lift off the handle.
Step 3: Inspect and Replace Parts
Once you’ve exposed the internal components, check for worn-out parts. If any parts are worn, corroded, or cracked, they need to be replaced with the correct replacement part.
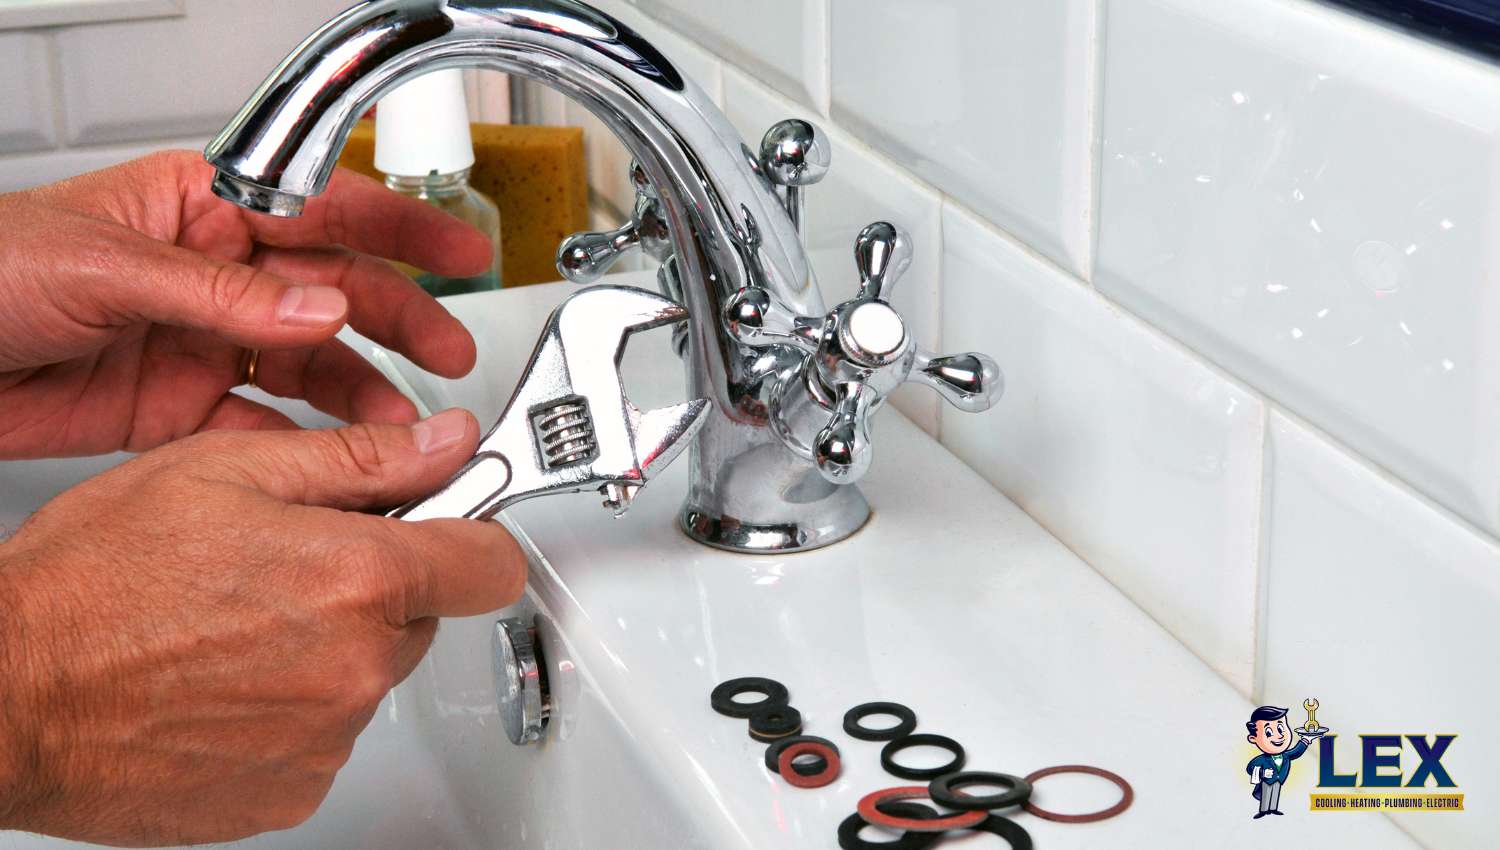
- O-Rings: These small rubber rings help create a seal. If they’re worn, replace them with new O-rings of the same size as your faucet. Be sure to coat the new O-ring with plumber’s grease to help prevent future leaks.
- Washers: Found in compression faucets, worn seat washers should be replaced with a new washer. Make sure you get an exact fit when purchasing replacement parts from a local hardware store.
- Valve Seats: Corroded valve seats in compression faucets can cause leaks. If corroded, clean them with white vinegar or replace them if needed.
- Ball Faucets: For ball faucets, you may need a ball faucet repair kit to replace parts like the valve stem. The kit often includes various components necessary for the repair.
Inspecting these elements and replacing them when necessary can restore your faucet to proper working condition.
Step 4: Reassemble the Faucet
After inspecting and replacing worn parts, reassemble the faucet by following the disassembly steps in reverse.
Start by placing the valve stem or cartridge back in its position, securing it with the retaining clip or packing nut. Before tightening any threaded components, apply plumber’s tape to the threads to create a watertight seal and prevent future leaks.
Replace the handle and any decorative caps, making sure all parts are aligned and tightened properly. Once reassembled, test the faucet to confirm it’s functioning without leaks.
Step 5: Turn the Water Back On and Test
Once everything is back in place, turn the water back on slowly as the water pressure adjusts. This helps prevent sudden pressure surges that could cause another leak.
Check the faucet thoroughly to make sure no water is leaking. If you spot a drip, you might need to tighten some connections or re-check the seals.
How To Tighten Sink Faucet
If your faucet is still leaking after reassembly, it could be due to loose connections. Use an adjustable wrench to gently tighten any now exposed nut or connections. Be careful not to overtighten, as this can damage the faucet.

What To Do When the Job Is Beyond DIY Repair
Choosing between DIY repairs vs. professional plumbing depends on the type of repair you are taking on and how comfortable you are with making these repairs. Faucet repairs can generally be completed on your own, but in some cases, despite your best DIY efforts, the faucet may still leak. This is particularly common with more complex faucet types like ceramic disk faucets, which contain several neoprene seals that may wear out over time and require replacement. If the leak persists after your repairs, or if other issues arise, it might be time to have a professional fix your faucet.
At Lex Air, we understand the frustration of dealing with a leaky pipe or faucet. By calling a professional plumber on our team right away, you can save time and money while also experiencing peace of mind knowing the repair is done right the first time around. Whether you need to repair leaky bathroom or kitchen sinks, replace worn valve seats, or handle more complicated issues like leaky compression faucets, our experienced Carrollton plumbers are here to help.

Call Lex Today for Professional Plumbing Services in Carrollton, TX
Don’t let a leaking faucet drive up your water bill or become a bigger issue. At Lex Air, we’re ready to fix a leaky faucet with precision and care, providing you with peace of mind with our guaranteed repairs. Our team excels at diagnosing and resolving plumbing problems, getting your faucet working like new again.
Avoid the risk of potential damage from improper DIY attempts. Contact Lex Air today by calling (972) 217-8955 for professional and emergency plumbing service in Carrollton and the surrounding North Texas areas.


